Recipe Saves

Untitled - 106

Savory Saves –

Recipe: Oven Cooked Risotto – I am totally going to perfect this recipe and I think I will use my roasting pan.

Prosciutto, Pea and Lemon Pasta – I think I would try to use not frozen peas if I were to make this, and I would likely sustitute bacon in for proscuttio. But this leads me to ask myself why can’t I just make a recipe as it is written, why must I Jamie Oliver it up every time?

Eggs Benedict Casserole – There are times when I have a lot of eggs and this recipe seems like it was made for those times.

Sweet Potato Spinach Mac and Cheese – This is a recipe I will make but I will use A2 milk in place of almond milk. I have a stash of A2 longlife UHT milk as well, in case we ever run out. Yes, I am a believer, regular milk does not love me much. :(

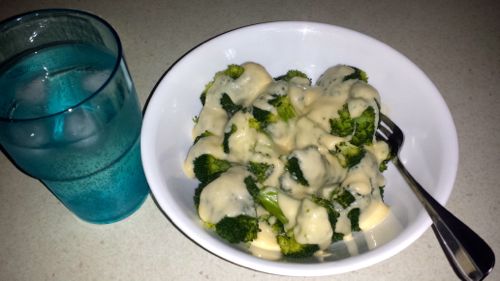
cauliflower cheese – I deeply love cauliflower cheese.

The Best Guacamole Recipe. – I will make this and love it, sometime soon.

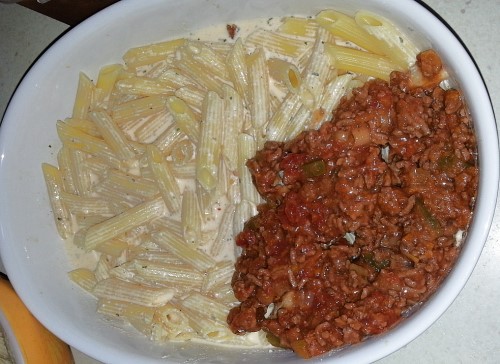
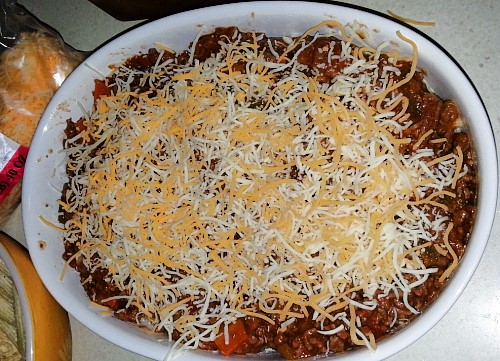
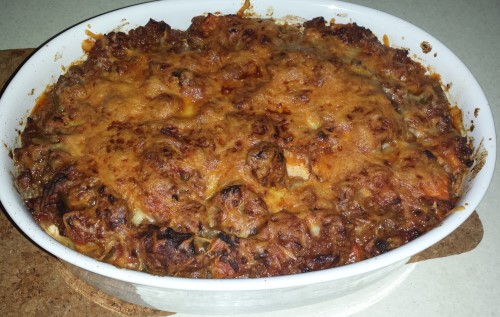
Sasha and Malia Obama’s Favorite Mac and Cheese – I am a huge Michelle Obama fan, I have a somewhat irrational love for her.

Seriously the base recipe is amazing *and* it skips making a roux, which was one of the first things I mastered in the kitchen. A roux is the base for several of my recipes – however there are days (especially hot days) when I just don’t feel like making one. You can easily use this as your base for all roux-required recipes if you so desire, I have done from time to time. This recipe is so versatile. Here are a couple of quick things you can add to the simple cauliflower, milk, cheese and herbs base to make into a meal –

Chicken, Bacon, Mushrooms, Spring Onion.

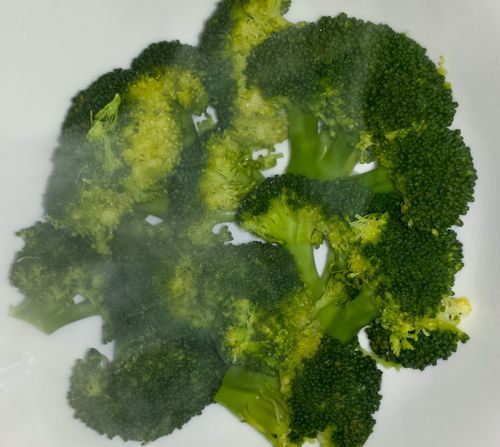
Tuna, Broccoli, Leek, put some tomato slices and Parmesan on top, bake for 20 mins till top is crispy.

You can find a couple more awesome Michelle Obama recipes here –
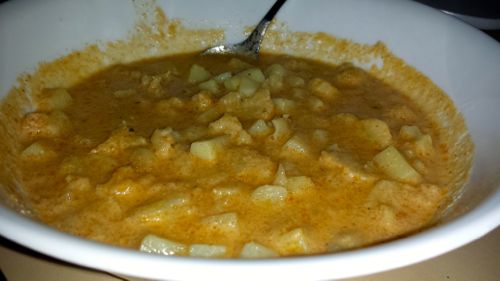
Healthy Recipes From The White House To You – the broccoli soup is great as well especially if you add some Parmesan or blue cheese.

Coconut Lime Baked Chicken with Coconut Mango Sticky Rice – Yes to this. One day I will make this. I think this would work really well with drumsticks and wings, too.

Slow Cooker Chicken Wings – 5 Super Varieties – Speaking of chicken wings.. :)

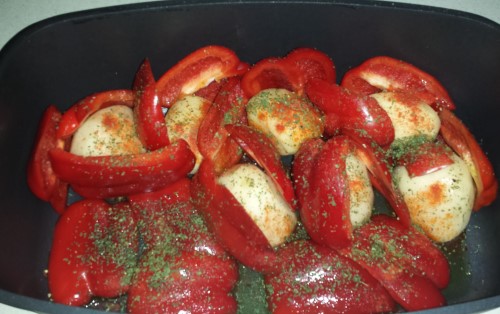
Blood Orange Thyme Roasted Chicken – This combined with my roasting pan would = epic win, I think. :)

Sweet Saves –

Booze Baking: RumChata Cheesecake – I do not even know what Rumchata is, which may impact on my success with this recipe considering it calls for 3/4 of a cup of it.

Christmas Pear, Cinnamon & Ginger Chocolate Glazed Cheesecake – This is a recipe I am deeply unlikely to ever make for us at home, but I like to think I could make it, if people in my house ate pears. I might make it if I am going somewhere that people will eat pears. But why on earth do I save these recipes knowing I am unlikely to ever make them? WHYYYYYY?

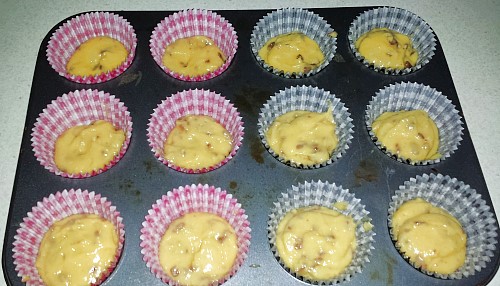
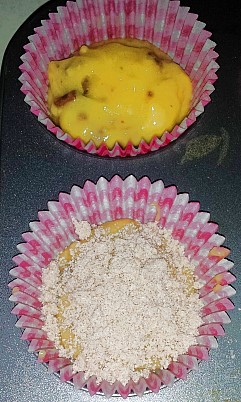
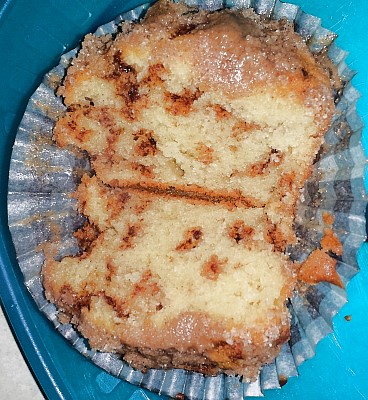
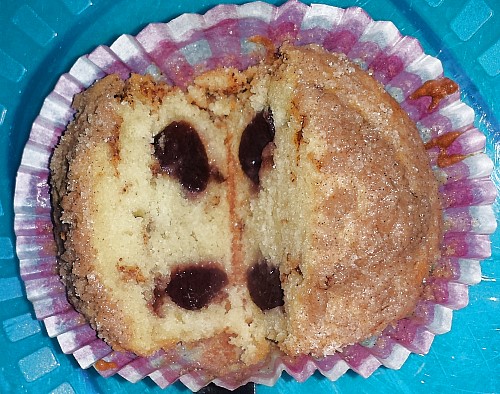
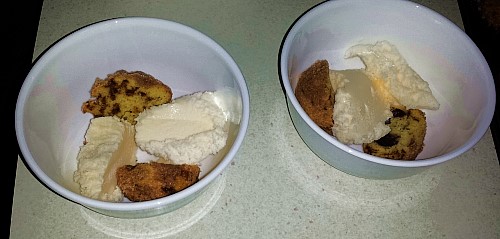
Gingerbread Heads – You will never believe me when I say this, but I *did* make this gingerbread. It is everything you want a gingerbread to be. I should have halved or even quartered the recipe, though. Anything that says 5 cups of flour is overkill in my house. So, There Was An Incident, which we will not go into the details of, when I tried to make it in my mixer which is not large enough for this dough. I still have two large logs of this dough which I froze. I did not decorate the results, because I am a terrible cake and cookie decorator.

key lime pie – I love Key Lime Pie. I have never made it. This year is the year, it will happen! ;)

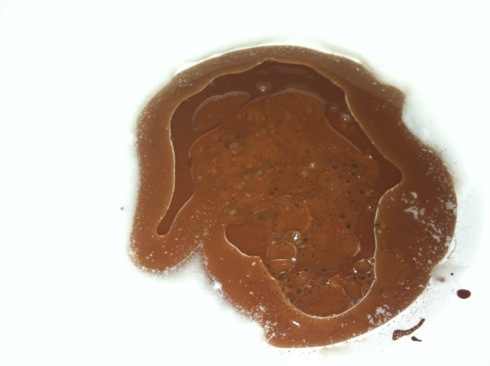
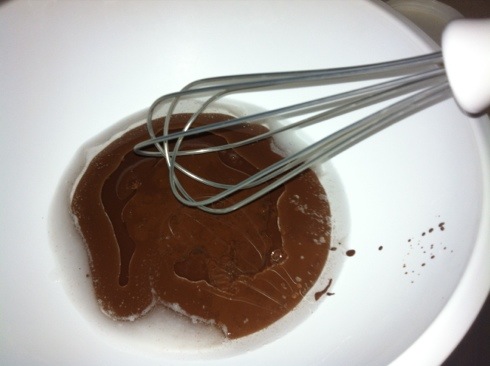
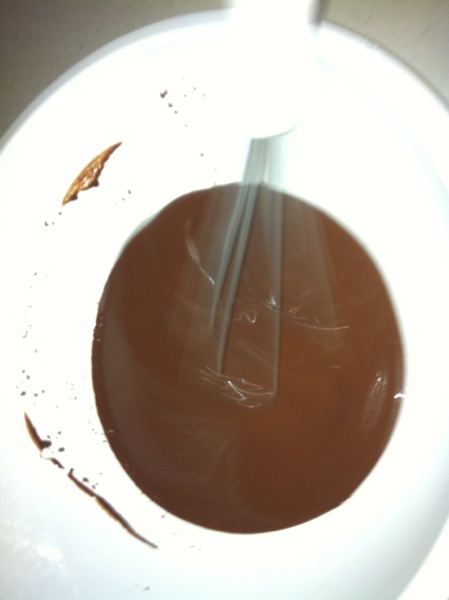
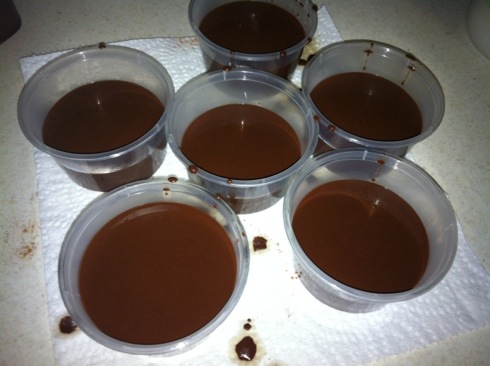
Raspberry Chocolates – I will probably make this to take along to school one day. Though, as I have a chocolate from scratch recipe I love, I will likely stick to that one – Making Chocolate From Scratch!

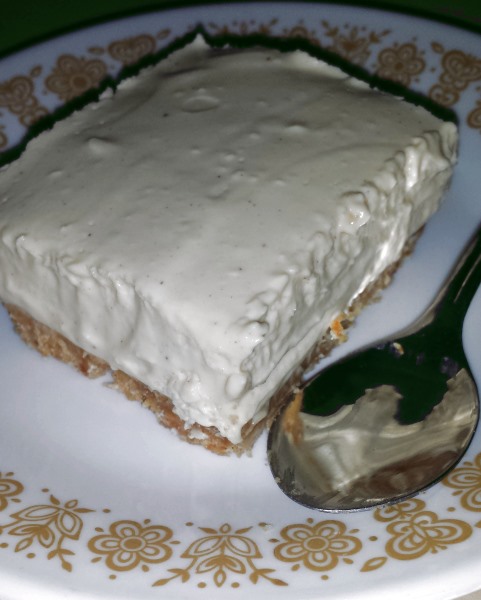
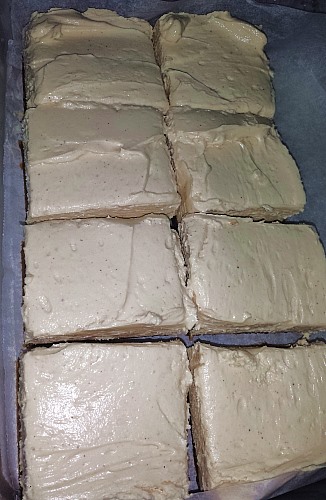
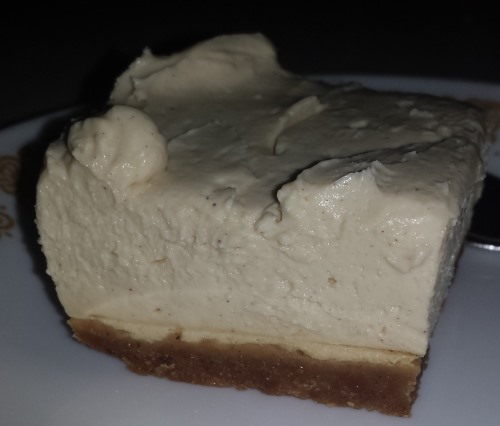
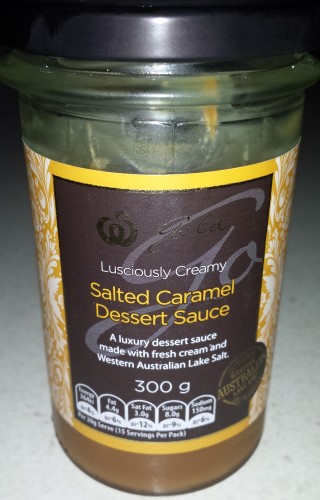
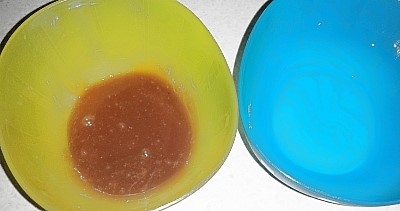
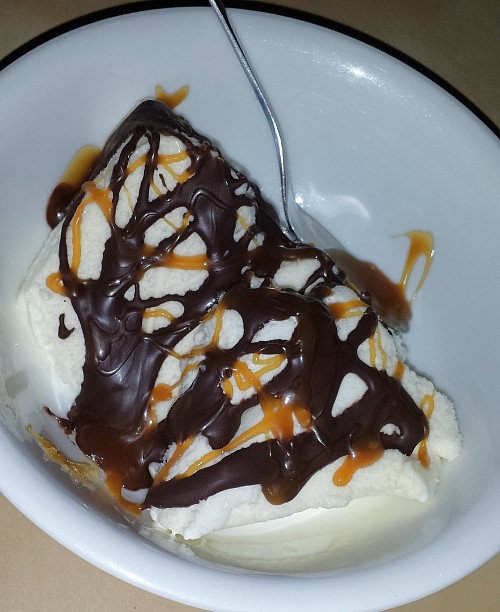
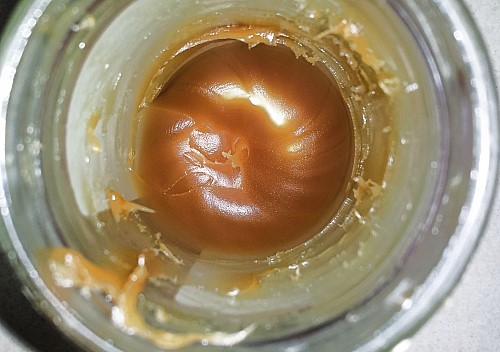
Salted caramel pudding – I love Salted Caramel, so, so, SO SO much.

Salted Caramel Chocolate Cups – gorgeous pics. I will make this one day.

Blueberry Pie Bars – I deeply love blueberries. I will make this!

Healthy Homemade Chocolate Paddle Pops – I love me some Milo.. :)

Fudge for all – I have made this fudge many times now, however, I just make the cookie part and skip the chocolate. Bizarre, I know, but I have to tell you this is one of my all time favourite desserts and super simple. If you make it with Anna’s Ginger Thins.. swoooooon!

Just a side note, why are so many bloggers using all caps for titles on their blog posts these days? You can do that with CSS instead, so when people like me try to copy your title, we get it in regular letters. :)

cooking, get organised, internet, Linkage, recipes

No Bake Cheesecake

cheesecake
My earliest no bake cheesecake attempt in 2015

Just secretly, behind the scenes, I set myself a few goals for 2015 which I did not share with you, because hello what if I fail? This recipe represents the first of these goals which I have achieved and am now ready to share with you. What was the goal?

Perfect a no-bake cheesecake recipe.

I started with a recipe from The Annoyed Thyroid – Kit Kat No-Bake Cheesecake – you’ll note there is no gelatin which is perfect for me because I am terrible at using it and once I found out what it actually was, I was not a big fan of using it in recipes anyway..

I tried that recipe with the following changes –

– no kit kat, because my other half is a bit allergic to chocolate

– I used scotch finger biscuits for the base

– I put in brown sugar rather than caster sugar

– I also added some cinnamon because I always do.

I took it to my parents for dinner and it was hugely popular. We ate it with tinned black cherries and said we thought tinned raspberries would work well with this too.. The one thing we all felt was that the cheesecake part was a little heavy.

Then I thought.. could I add more cream to lighten it and would it still set? And maybe I might like a little touch of gingernut biscuit in the base. So cheesecake #2 was created – this time I used 300mls of cream instead of 50mls, and a mix of gingernut and scotch finger in the base.

I made it just for us here at home, and it was delightful. It did set, though not quite as well as the first one. I thought maybe I was done tweaking, but never say you’re done, because you won’t be.

ch2

The next time I made it specifically because family was coming in from interstate, and I used 250g of regular cream cheese, 250g of light cream cheese, and still 300mls of cream. I also used a base purely of Anna’s Swedish Thins – which you should definitely try as a biscuit if you have not, and Ikea make a version almost identical which they call Pepparkakor – these biscuits are fantastic with cheese especially bitey vintage or blue cheese but they are even more fantastic as the base of a cheesecake.

This was totally the best version of this cheesecake yet. The ginger from the base seemed to transmute itself into the cheesecake itself, adding an amazing flavour. Done, perfected. I achieved my goal and ate several cheesecakes in the trying, which was awesome. Each shopping trip, I’ve added the ingredients for this cheesecake to our shopping list, and it makes enough that we have a small piece for dessert nearly every night.

But then, a happy accident happened when I went to recreate my perfected version. I’d seen this recipe over at Domesblissity – Mini Choc Hazelnut Cheesecake Cups – and I’d bought some spreadable cheesecake, intending to give this recipe a try and perfect it.

I was in the middle of making the no bake cheesecake while listening to The Celebrity Apprentice on my cordless headset – the base was complete and in the fridge – when I discovered all my cream was no good. Seriously, this happened on the 26th of January and *two* 600ml thickened cream tubs had use by dates into February. I suspect foul play of some kind and I definitely smelt sour cream. But I had this spreadable cream cheese (250g) in the fridge, and I thought.. ok, give that a try in place of the 300mls of cream.

ch1

Here now, I present to you, my final no-bake cheesecake recipe.

The base –

150g Anna’s Ginger Thin biscuits – 50g Butternut Snaps – ground into a fine crumb.
80g unsalted butter

Combine the biscuit crumbs with the butter in a bowl and then press into a baking paper lined baking pan – put this into the fridge to cool while making the base.

The Filling

250g regular cream cheese
250g light cream cheese
250g spreadable cream cheese
(I use Manhattan from Aldi)

90g brown sugar
1 teaspoon vanilla extract
1/2 teaspoon cinnamon

Recipe Notes –

You can also add 50-300g thickened cream if you like to make it lighter, and the cheesecake will still set.
Leave the cream cheese out at room temperature for an hour before you begin mixing for the best results.

Make The Filling –

Mix the brown sugar and regular cream cheese first, until smooth.. Add in the vanilla and cinnamon during this stage.

While the mixer is going on a light speed, add in the spreadable cream cheese. Then cut the light cream cheese into small strips and add that in. Mix on high speed for a few minutes until perfectly smooth. If adding cream as well, add that in last.

The Density Of My Cheesecake Destiny

It is a density thing, why I say to mix the things in this order – the time I accidentally mixed the straight out of the fridge regular cream cheese with the cream, it was almost impossible to get that smooth. So learn from my mistake and mix things of a similar density with each other. :)

The Final Step!

Pour mixture into the lined baking pan with your base. Smoosh with spatula, until presentable. Cover with alfoil or glad wrap and then put this back in the fridge for a few hours, or overnight if you have the time and can resist the urge to eat it.

Can You Guess?

What my next cooking goal might possibly be? And do you like a cheesecake, will you give this recipe a try?

cooking, country life, food, Happy Snoskred, recipes

Salted Caramel On Icecream

You may remember our Salted Caramel Sauce from Monday.

sc1

Alternatively you can make your own.

This is a quick one. Pop a spoonful of the Salted Caramel sauce into the microwave for 30 seconds or so –

saltedmool5

I always put in some water in to microwave as well to prevent the sauce getting too hot. You could always nuke it for less time..

moolcream

Drizzle some ice magic – if you have it and like it – as well as the salted caramel sauce – onto icecream. Super simple but extra tasty. :)

food, NaBloPoMo, NaBloPoMo 2014, recipes

Salted Caramel Coffee Milkshake

This is what you need to start your week. If you want salted caramel in a convenient form that you can keep in the fridge, Run, don’t walk, to your nearest Woolworths, and grab this –

sc1

Woolworths Gold Salted Caramel Dessert Sauce. Or make your own. Yum!

sc2

The Woolworths version is not really in a sauce form, not sauce as we know it, however you can spoon some into a plastic container, whack it in the microwave for 30 seconds or so – best to put in a small container of water as well, and keep an eye on it because it can get very hot very fast – then it will assume sauce form.

saltedmool8

Once you’ve done that put some sugar – I used coconut sugar but you use what kind you like – into a cup. If you have a coffee machine that will do an espresso shot, put an espresso shot over the sugar, add the caramel sauce, and stir well to combine. If you do not have a coffee machine but would still like coffee in this shake, use instant coffee and add hot water.

saltedmool3

But ohhh wait, this is a milkshake, why use hot water or a hot espresso shot? You want the ingredients to dissolve, so you need to use hot. But to cool it down fast once the ingredients have dissolved, use a couple of ice cubes.

saltedmool2

This will not take very long. This photo was taken maybe 30 seconds after the first one. The cup you saw with normal sugar and the brown stuff is Milo, which the other half wanted instead of salted caramel. So you can tweak this shake to fit everyone. ;)

saltedmool1

Now you want to ice cream it up. Vanilla is fine but you could use chocolate or even a salted caramel ice cream if you have it. Add ice cream to the cups you are planning to put your shake into, as well as into the blender with your mixture you have created. If you like it super cold, add more icecubes as well.

saltedmool9

Now you are ready to blend. I have a knock off magic bullet which I got from Homeart for cheap which is super handy for making drinks like this, it came with 4 different drink cups, but you can use any blender you have access to.

saltedmool12

And serve.

saltedmool11

Now, if you made too much of the liquid mix? You can pop some alfoil on the top and put it into the freezer to add to your next shake. Even if I froze some, I always use some of the “hot” then iced liquid when making this shake because I find the flavour distributes through the shake more evenly that way.

So, how did I nearly set the microwave on fire heating this sauce up? Well, our microwave is an LG Solardom which is a microwave, grill, and convection oven. Somehow, one of the little plastic feet on the metal tray had worn away, and so when I was heating my sauce using the microwave function, it was metal on metal, and sparks flew all over the place.

I was watching it – I usually do if it is just a quick thing and I had put this on for 30 seconds. So I stopped the microwave right away and we worked out what happened. But even if you do not have this kind of issue, you want to be careful with caramel in the microwave, it can get super hot very fast. :)

Later this week – another way you can use this sauce.

food, NaBloPoMo, NaBloPoMo 2014, recipes

Cinnamon Crumble Muffins & Iced Tea

cherry12

My Cinnamon and Black Cherry muffins are well known in this part of the world. I have taken them to my workplace(s), where my parents work, and to family and friends. People really lose their shiznit over these muffins, they act like I am some kind of baking genius. I suspect it is the Streusel topping, which, in reality, is just cinnamon and sugar.

cherry6

I am so, so, so so not a baking genius. But the folks at Betty Crocker are, and I can follow the recipe of their Cinnamon Crumble Muffins. And so can you. Especially considering the hardest part of this recipe is buying the packet mix from your local supermarket. You’ll also need –

cherry4

The eggs were fresh from my girls – we have a broody at the moment who is keeping them warm from when they are laid to when I collect them. You will notice the mix is a strong shade of yellow – the yolks of our eggs are such an amazing colour! Plus, there is a lot more yolk than white with our girls. You can use coconut oil for this recipe as well, though it will work best if you warm the coconut oil to a liquid state.

cherry2

So you just put a tablespoon of the mix into each muffin pan.

cherry8

If you like, you can special up these muffins with various fruits, if you so desire. My Mother makes this packet mix too, only she adds slices of apple from a tin. You could use any kind of fruit you so desire – the back of the packet has a banana and raspberry version. Me personally, I do not like raspberry unless it is a strained coulis – I’m not a big fan of the seeds, sadly.

cherry3

I like cherries in mine but the other half likes his plain, so using these gorgeous gingham patty pans, I can easily know which ones have cherries. Pink for mine, Black for The Other Half. Before this recipe, I would put a tin of cherries in the fridge until they were icy cold, and have just cherries and icecream. Cherries are the perfect fruit addition to this recipe. You could also use fresh cherries, strawberries, blueberries, well, just about any fruit you like!

cherry1

Into the pans that will have cherries, you add 2-3 pieces of chopped cherry. I like to cut mine in half and make sure there are no pits left inside – one too many pit accidents. But if you like, you can leave them whole.

cherry5

Then you add a little more muffin mix to cover the cherries, and then the streusel topping which is provided in a separate packet to the muffin mix.

cherry7

And then you bake them for a bit, following the instructions on the pack.

cherry5

This is how they look without cherries –

cherry10

And this is how they look with them –

cherry11

Now, if you are like me, you’ll bake these after dinner, and make them into an awesome dessert, by cutting them in half while still hot, popping them into a bowl, and adding icecream. So awesome!

cherry9

Now, onto the Iced Tea. I have never made this before but I am always willing to try new flavours to go with my soda water. I used the Australian Afternoon Tea by Twinings which is one of my personal favourites. Simply brew up a cup of tea the way you usually would, with boiling water.

tea2

To provide a little sweetness, I added honey while brewing the tea. You can use any sweetener that you prefer – coconut sugar would be my second choice, and I will give that a try as well because it will provide a more caramel flavour as opposed to the honey flavour.

tea1

Place the brewed tea into the freezer for a while. I left mine in for a few hours, then added freshly charged via Sodastream soda water, ice and slices of lime.

tea3

It was absolutely delicious. Full of flavour, and low in sugar. If you like Nestea or iced tea, you absolutely should give this a try.

This post was inspired by two other posts – Fake it ’til you bake it over at Awesomely Unprepared, and How much sugar is in that? at Laughing Galah.

This is not a sponsored post – this is just stuff I regularly use and enjoy in my house. But I’d like to send a shout out to Betty Crocker – I’m more than willing to try any packet mixes you want to provide me with and blog about them here. I have tried some other ones before but it has been a while, and I have seen some very yummy new things appear which I am thinking of trying soon.. :)

cooking, recipes

Roasted Red Capsicum & Potato Soup

I’m not one to follow recipes very often. Much of my cooking is inspired by a recipe and then I go forth and experiment. Such was the case with this soup which was inspired by this post – Chilled Red Pepper Soup with Yogurt and Herbs – though what I made was nothing like the recipe.

I also like my recipes to have “offramps” – points at which you can stop and tada, it is done. This recipe has a couple of offramps..

So here’s what I did, with pics. This is super simple!

cs109

1. Chop and prepare 5 capsicums – any colour you like. I chose red today because they were on super special at Aldi. Peel some potatoes – amount is up to your preference, some people might like more potatoes than I used to roast but I knew I would be adding a couple more in at Slow Cooker Time.

cs110

2. Check in with your Kitty Supervisor to make sure you have done step 1 correctly. Set the oven to 200 degrees C (400F).

cs114

3. Drizzle extra virgin olive oil on base of roasting pan. Smoosh the capsicum and potatoes around in the oil to make sure they are covered with olive oil. Layer your items thoughtfully in your roasting pan so they will provide each other with flavour.

cs113

4. Get spicy! Add your choice of spices – you could use any you like, I chose paprika, cinnamon, cayenne, parsley and cracked pepper. Put this in the oven for 1 hour in a covered lid pan – you may need slightly longer and/or a lower temperature for uncovered pans.

cs115

5. Remove from oven. Delight in the smell.

Offramp 1

Here, you could boil the kettle, prepare a litre of stock – chicken, veg, your choice. Add the roasted items and stock to a blender, whizz, add some cream, sour cream, or yoghurt, and your soup is ready. If not, continue on with the recipe as follows.

cs112

6. Cut up one onion, one fresh red pepper, a few carrots. Saute and sweat these in a saucepan if you are planning to get off at the next offramp, or your slow cooker if you are in this for the long haul.

cs117

7. Add in 1 litre stock of your choice, extra potatoes or other vegetables if you would like. Sweet potato (yams) would be wonderful in this. If slow cooking, set for 6 hours.

Offramp 2

If you are not slow cooking, simmer soup on the stove for an hour or until everything is cooked through and mushy. Remove from heat, allow to cool a little, whizz in your blender, add some cream, sour cream, or yoghurt, and your soup is ready.

cs119

8. When your slow cooker beeps, remove the soup and allow to cool a little.

cs111

9. Whizz in your blender, add some cream, sour cream, or yoghurt, cheese if you like it, stir well, pop it back on the stove to get the soup piping hot again, and your soup is ready

cooking, food, recipes

Fake Lasagne

It has been years since I have made *real* lasagne. Once I found out about fake lasagne and how easy it was to make, without all the layering, I just make the fake version all the time.

So I bet you are wondering what fake lasagne is. You’re about to find out how to make it. :)

You will need –

cookedpasta

500G cooked pasta, spread out into baking dishes.

pastasauce

Pre-prepared bolognese sauce – you can also use napolitana or a non-meat sauce, that works just as well and there have been times I have used jar sauce, when I am too lazy. On this occasion I made bolognese sauce in the slow cooker the day before.

To prepare the bottom layer –

custard

Combine 6 eggs, 600mls cream, 500g tub of ricotta, whatever herbs and spices you like – I use paprika, cinnamon, parsley -in a large bowl.

layer1

Pour egg mixture over the cooked pasta.

layering

Layer your red sauce layer on top, making sure to cover the bottom layer.

ready

Once your layering is complete, sprinkle with cheese and place into 190C oven for 45 minutes. If you do not like your cheese crispy, make sure to cover with alfoil.

On taking out of the oven, make a small hole in the middle. If the bottom layer is still liquid, it needs more time. It should be foofy and look a bit like whipped cream, but a cooked version.

fakelasagne

How do you Lasagne?

Let me know if you try this recipe! :)

cooking, food, recipes

Broccoli

br1

I love Broccoli a lot. Like it is in my top 10 list of foods to eat.

The other half hates Broccoli more than anyone could express in human terms. Like Newman from Seinfeld, he feels that it is a VILE WEED.

This does make life mildly difficult when it comes to cooking meals that both of us are going to eat. 99% of the time our meals are broccoli free. The 1% is when I make a meal and cook the broccoli separately and put it in my serving only. It is a bit of a hassle so I don’t often bother. Especially when I can use cauliflower which he will eat, and I love that nearly as much as broccoli.

When I am cooking for myself only, 99% of the time it is going to include broccoli. The 1% being when I don’t have any in the house. And on the odd occasion, I will just have broccoli on its own. Today was one such time. So here is my very quick how to make broccoli with cheese shortcut recipe.

1. Boil the kettle.

2. Prepare the broccoli for steaming. Cut into florets and place into the steamer pan.

br2

3. Put boiling water into saucepan, place steamer pan on top, with lid on.

4. Empty 1 packet of Masterfoods cheese finishing sauce into saucepan. It must be the Masterfoods one, not the Gravox one. Just trust me on this one, ok? :) Add parmesan cheese and tasty cheese, cook on low while the broccoli steams and stir occasionally.

Alternatively if you have the time make your own cheese sauce from scratch. This day I wanted to empty and fill the dishwasher between putting on the broccoli and cheese sauce to heat, so I used the quick option, but I always add cheese into this sauce and make it in the saucepan rather than via microwave.

br3

5. Broccoli steamed? Take it off the heat and use tongs to place the florets into a bowl.

br4

6. Pour the cheese sauce over the top of the broccoli.

br6

There you go, broccoli with cheese. This was my lunch today and it was *awesome* and fulfilled my broccoli cravings for a little while.

food, recipes

A little red curry..

So I have been a little addicted to a super simple vegetarian red curry made fresh daily in my kitchen this week. You could also consider it a soup..

rcr2

I started my love affair with red curry after a visit to the Nan Tien temple in Wollongong, where I ate red curry noodles.

rcr1

They were stunning. I dreamed of them. I tried to recreate them at home and was vastly unsuccessful. Though I did make a somewhat decent red curry soup which I enjoyed.. it was not the same.

rcr3

I had to return to the temple to satisfy the craving. This was no great chore as I love the place. It is beautiful and serene.

I’ve made my current obsession 4 times so far, either for lunch or dinner. When I get a bee in my bonnet about a recipe, I might make it over and over until I run out of the ingredients. Or I might make one big batch and then eat the leftovers for days. So satisfying!

The current recipe is this –

Drizzle Olive Oil
Teaspoon Coconut Oil
1 x Teaspoon Minced Garlic
2 x Teaspoon Red Curry Paste
400-500mls Chicken Stock (depends how many veg you are putting in as to how much liquid you need)
1x 50g sachet of Ayam Coconut Milk Powder (alternatively 1x can coconut milk or cream)
Various vegetables.

I would put a little olive oil in a saucepan, then add garlic and red curry paste – I like the Aldi version.

At this time you could add in an onion or a leek or even some carrots and celery. This recipe is endlessly custom-ise-able. :) Today I added in half a leek.

Then you add in about 400mls of chicken stock. While that is bubbling away –

I had a cauliflower in the fridge so I would cut off a few florets and then chop them up small. Throw this in the saucepan.

I would peel 2-3 potatoes and chop them up into tiny little cubes. Add this to the saucepan.

At this time you could maybe add in some pumpkin, broccoli, sweet potato, swedes or turnips, cabbage, silver beet, baby spinach.. you can make this recipe as complicated as you might feel like.

I would make up a packet of the Ayam Coconut Milk Powder. Its 50g of coconut milk powder and 250mls of water, or so. Pour this in and stir together well. You could use a can of coconut milk or cream. Make sure all the veg is covered with liquid, if necessary add in a little more chicken stock or coconut milk.

Let this simmer for 15 minutes.

Then you scoop some into a bowl, and your awesomeness is created.

rcr4

It might not look like much but it is so flavoursome and tasty. If you have the time you can also let it simmer until the vegetables literally melt in your mouth.

When I get a bee in my bonnet about a recipe, I might make it over and over until I run out of ingredients. There was a two week stint of chicken cacciatore I made, gorgeously salty with anchovies, tangy with olives and mushrooms, scented with Banrock Station Cabernet Merlot and with fresh cooked white or sweet potatoes underneath it, topped with parmesan. This might be my next bee. I’ll let you know if it is. :)

food, recipes

Making Chocolate From Scratch!

This is incredibly simple and once you try this you will likely not want “regular” chocolate again. The recipe I used can be found here

Chocolate (Homemade)
3 tablespoons cocoa powder
1/4 cup virgin coconut oil
1 tablespoons sweetener of your choice (I used 3tsp Coconut Sugar)
1 teaspoon vanilla extract
pinch of salt
(I added cinnamon)

20130119-051335.jpg

I made one small change to the method – I added all the dry ingredients into a mug plus the vanilla extract and added hot water to dissolve them. This was mainly because of the coconut sugar which is quite granular when dry. On this plate the coconut sugar is directly next to the vanilla essence in the teaspoon measurer.

Then – Place all of your ingredients in a bowl with the coconut oil and whisk well until combined.

20130119-051348.jpg

It’ll look weird because the chocolate separates from the coconut oil until you whisk it enough.

20130119-051359.jpg

You’ll know it is ready when you can’t see any coconut oil and it is all amalgamated into an awesome liquid..

20130119-051413.jpg

It is magic whisk time, peoples!

20130119-051424.jpg

I ladled them into small plastic containers so I can have some chocolate snacks to take to work. Then put them in the fridge – or freezer if you want to eat it soonish. Once the coconut oil hardens, it is ready to eat.

20130119-051446.jpg

The levels of awesomeness cannot be described. :)

UPDATE –

I tried a new recipe for chocolate which I found here – Good Girl Gone Green – this recipe turned out great and will be the one I am using in the future.

Chocolate
1 cup of coconut oil, melted
1 cup of cacao powder
1/2 cup of maple syrup
1 Tbsp of vanilla flavor

It works out a lot more solid than the previous recipe.

Here is a link to some other chocolate recipes which might be worth trying. 8 Vegan Chocolate Recipes.

food, Paleo Recipes, recipes